
Step 1
To start a new workflow, click the "Create New" option in the top right, give it a name, and click "Create".
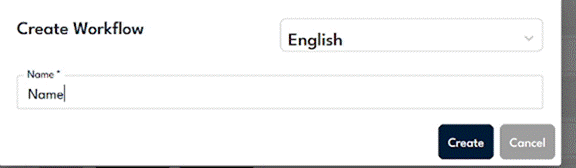
The Create Workflow dialog: type a name and pick a language, then click Create.
Step 2
Your new workflow now appears at the top of your list of workflows.

Look at the top row of the list, where the new workflow now sits.
Step 3
When prompted, add any resource you would like to the workflow, or skip this for now by clicking the "x" in the top right of the panel.
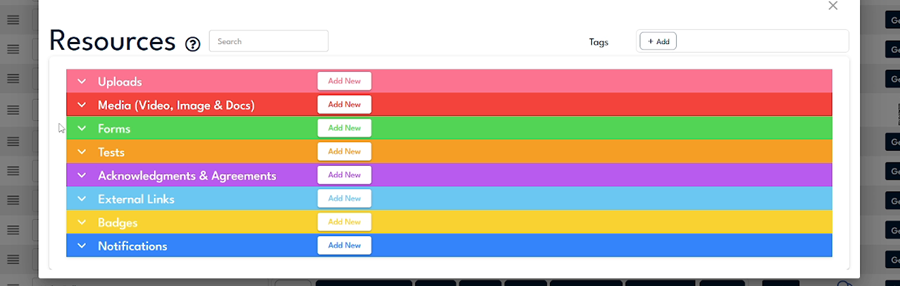
Resources are grouped by type: Uploads, Media, Forms, Tests, Acknowledgments & Agreements, External Links, Badges, and Notifications.
Step 4
To manage a workflow, click the arrow to the left of its name.
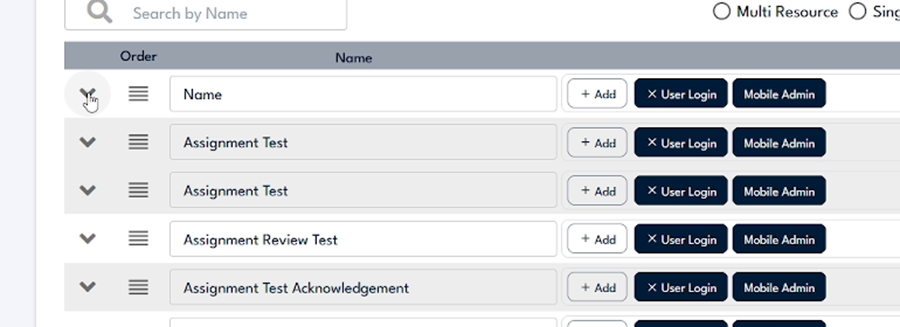
Click the chevron arrow at the far left of the row to expand the workflow.
Step 5
Review the "Resources", "Assignments", and "Settings" sections. The "Collect Check-in Info" toggle in the Resources bar controls identity: when it is on, the workflow asks each person for their phone number and tracks who completed it; when it is off, submissions are anonymous, which suits something like a suggestion box.

The three colored bars are Resources, Assignments, and Settings; the Collect Check-in Info toggle sits in the Resources bar.
Step 6
From the workflow list you have several options, including reordering workflows for easier management, renaming, adding to hubs with "+ Add", creating assignments with "Assign", viewing linked notifications, generating a QR code with "Generate", marking it "Active" or inactive, previewing it, and duplicating it.