
Step 1
On the Resources page, find the Pull column to the right of a resource, select Pull, and choose to pull it to the current organization.
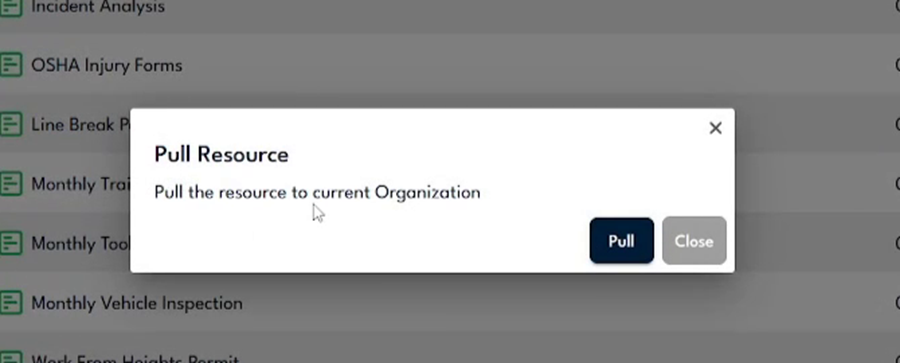
Confirm the window reads "Pull the resource to current Organization," then select Pull.
Step 2
Open Resources at the organization level and expand a category, such as Forms, to confirm the pulled resource is now listed there.
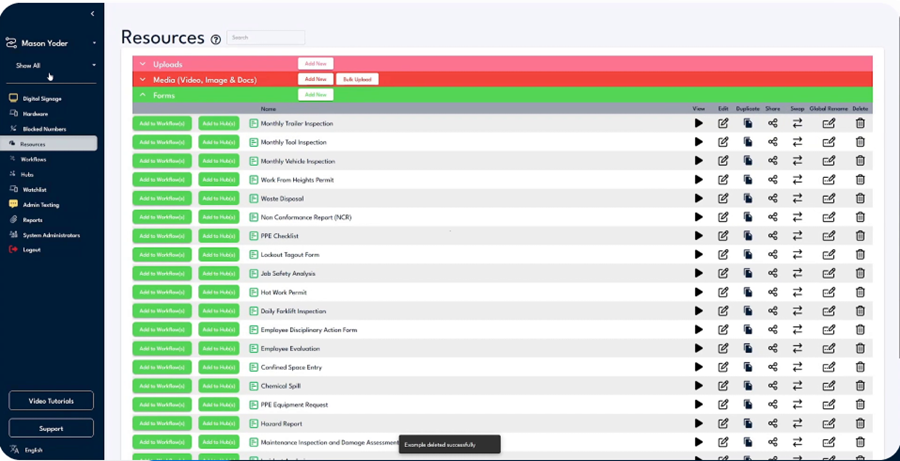
Expand a category like Forms to see the resource now at the organization level.
Step 3
Locate the resource in the organization list, and remember that the original and the copy are now two separate items, so editing one does not change the other.
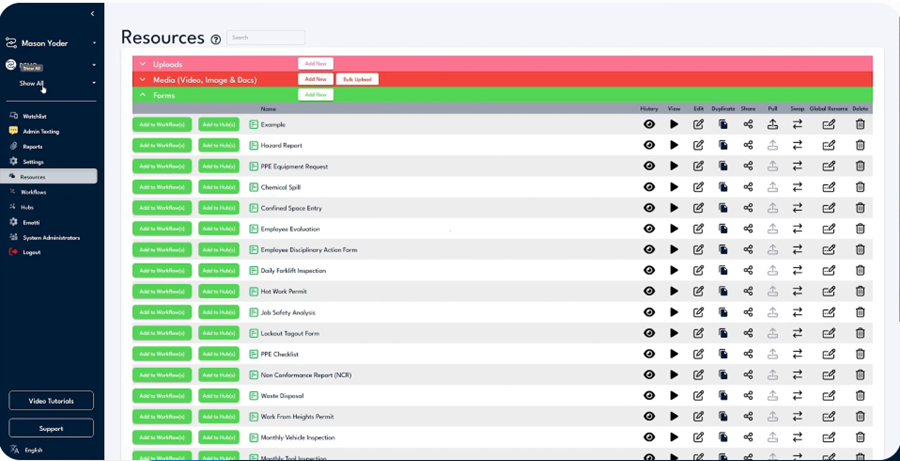
The resource now sits at the organization level as its own copy, separate from the location it came from.
Step 4
To share the resource to other locations, select the Share icon, then search through locations or filter by Tags in the Share Resource window.
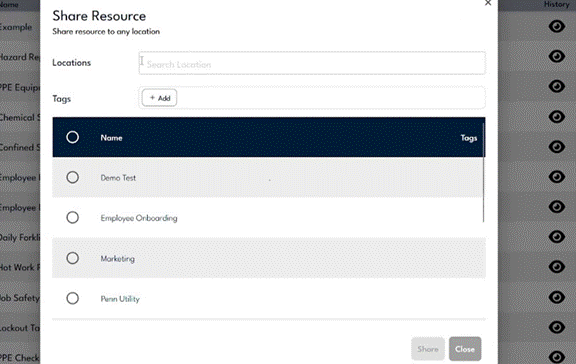
Use the Locations search or the Tags filter to pick the sites you want to share the resource to.
Step 5
Choose whether it is a Visitor Management or User Management resource, uncheck the option you do not want, then select Share.
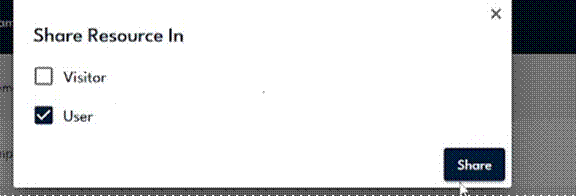
Uncheck Visitor to share it as a User Management resource only, then select Share.
Step 6
Open the location you shared to and confirm the resource now appears in its Resources list.
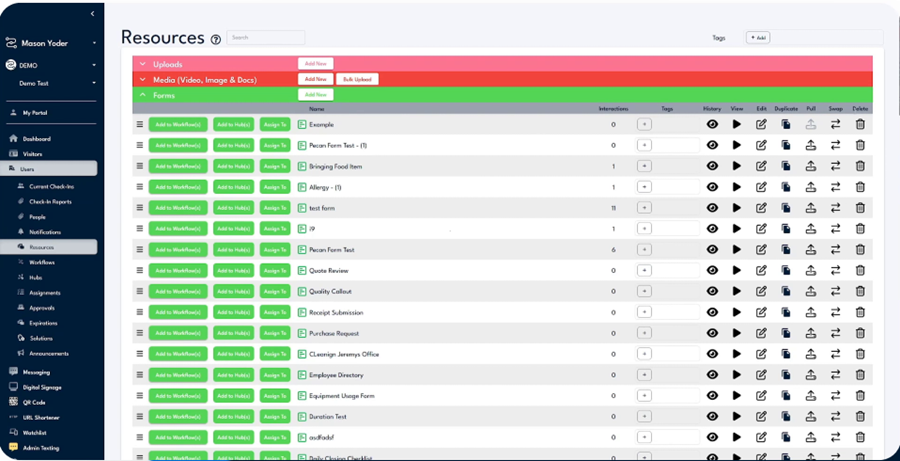
The shared resource now appears in the destination location's Resources list as a separate copy.