
Step 1
Go to Users, find the person whose profile you want to update, and select the Edit Profile (pencil) icon on their row.
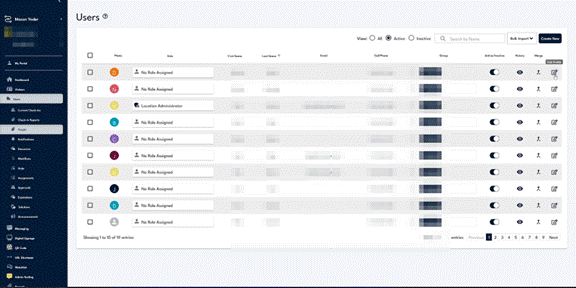
The Edit Profile (pencil) icon sits at the far right of each user row. Search by name to narrow the list, since any profile opens the same way.
Step 2
In the Edit Profile window, use the section list on the left to move between the parts of the profile.
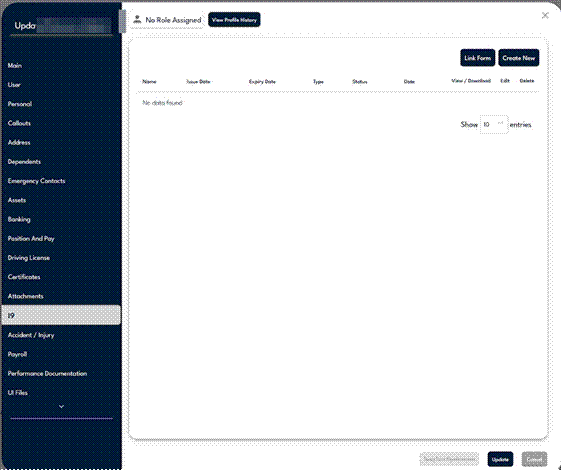
The section list on the left, including the main profile fields plus document sections like Assets, Banking, Certificates, Attachments, I9, Payroll, and Performance Documentation.
Step 3
Choose a document section, for example Performance Documentation, then select Create New in the top right to add a document by hand.
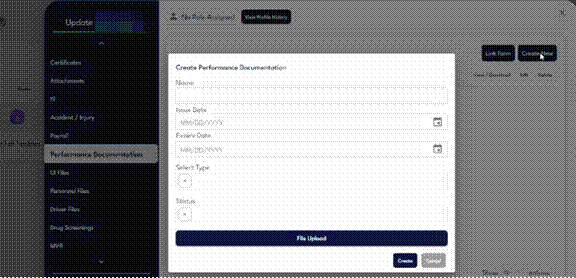
Create New opens this form, with Link Form beside it. Use Create New to upload or record a single document for this one person.
Step 4
Fill in the Name, Issue Date, Expiry Date, Select Type, and Status, then use the File Upload button to attach the file and select Create.
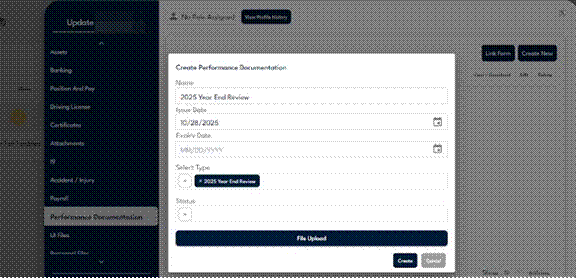
Select Type lets you pick or create a category. After Create, the document appears in the section list with View / Download, Edit, and Delete controls.
Step 5
To map a form to a section so it fills in on its own, open the section you want to map to, such as I9, and select Link Form in the top right.
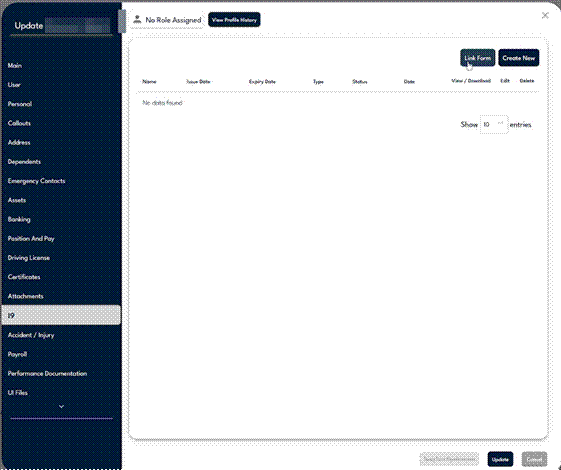
Link Form on the I9 section. Set this up once on any profile and it applies whenever anyone completes that form, so an I9 maps cleanly to the I9 section.
Step 6
In the Form Selection window, find the form you want, such as the I9, select it, and click Save to link it to the section.
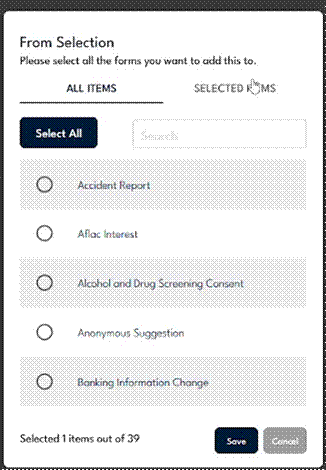
The Form Selection window lists every form resource. Use the search box or Select All to find forms, and the SELECTED ITEMS tab to confirm what is already linked.
Step 7
Repeat the same Link Form step for other sections, for example linking the K4 form to the Payroll section.
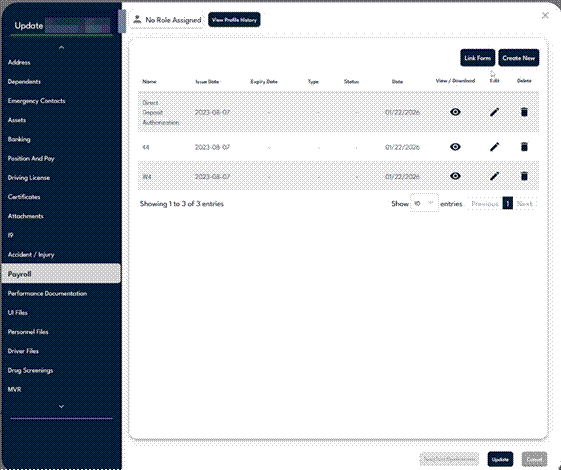
The Payroll section after linking, already showing entries such as the K4 and W4. From now on, completing the form populates this section automatically.