
Step 1
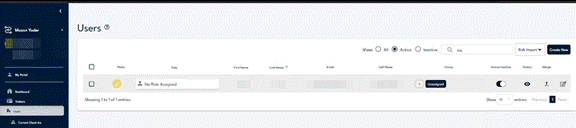
Open Users from the navigation bar to see the list of people on your account.
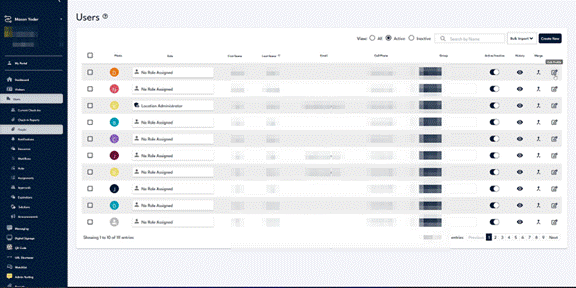
The Users list with columns for Photo, Role, First Name, Last Name, Email, Cell Phone, Group, Active/Inactive, History, and Merge. Use the View options at the top to show All, Active, or Inactive, or search by name.
Step 2
Click Create New, then fill in the Main tab.
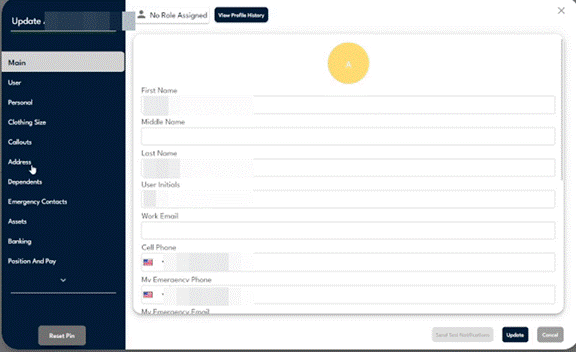
The Main tab, where only First Name is required. Add the rest of the contact fields now or save a basic profile and fill them in later.
Step 3
Use the left list of profile sections to add more detail to a user.
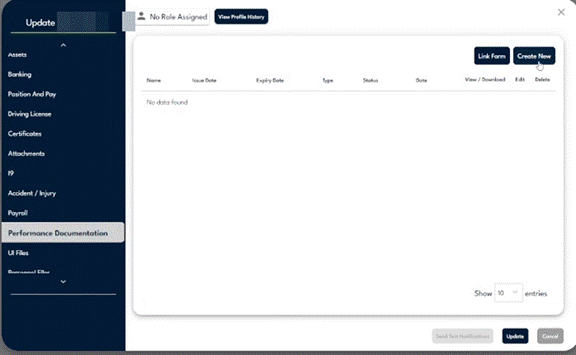
The section list on the left, including Certificates, Attachments, I9, Payroll, and Performance Documentation. Select a section to view or add its records.
Step 4
Edit an existing user by opening their profile and updating the fields.
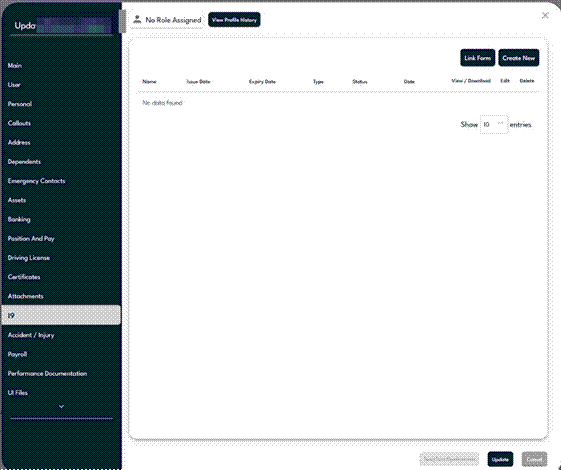
The Edit Profile window. Make your changes in any section, use View Profile History at the top to review past edits, then click Update to save.
Step 5
Switch a user between active and inactive with the Active/Inactive toggle.
The Active/Inactive toggle on a user row. Switching to inactive keeps the user and their history while removing them from the active list.
Step 6
Use Bulk Import to add many users at once instead of one at a time.

The Bulk Import dropdown in the top toolbar, used to bring in a list of users together when setting up an account or onboarding a group.