
Step 1
Generate a QR code from a hub or workflow. You can set a QR code to be attached to either a workflow or a hub. For example, say you have a hub that holds the materials for changing the blade on a piece of machinery. Instead of putting a physical kiosk next to that machine, open the Hubs list, find the hub you want, and click Generate in the QR column for that row.
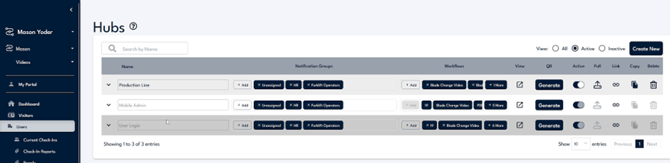
Click "Generate" in the QR column of the hub you want; the same option is available on individual workflows.
Step 2
Name the QR code. When the Edit QR Code window opens, use the Text field to give the code a clear name. In this example we name it Blade Change.
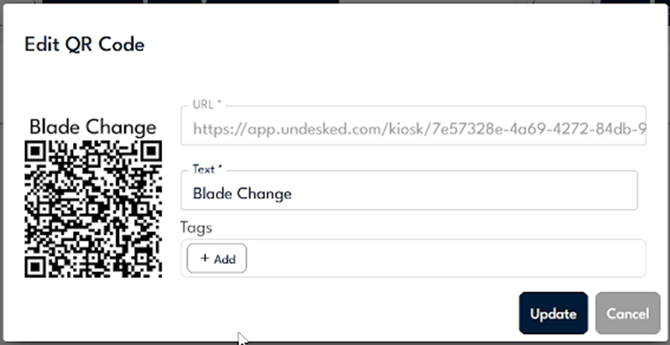
Type a clear name in the "Text" field; this is what shows on the printed code and in your QR list.
Step 3
Tag it for filtering and reporting. Under Tags, click Add, then create or pick a tag for this code. If you are going to use a lot of QR codes, we recommend creating a tag for your QR codes.
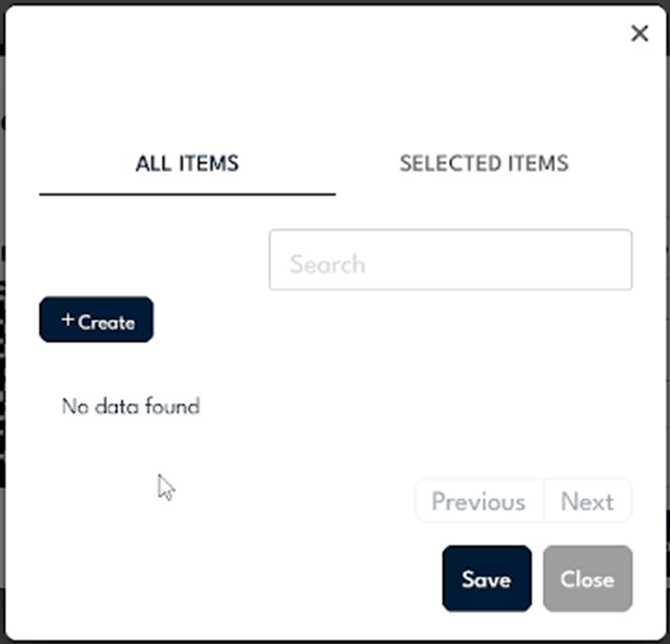
Use "+ Create" to make a tag, or pick an existing one, so your QR codes are easy to filter and report on.
Step 4
Create the code and copy it. Once the name, URL, and any tags are set, create the QR code. You can click the code to copy it straight to your clipboard.
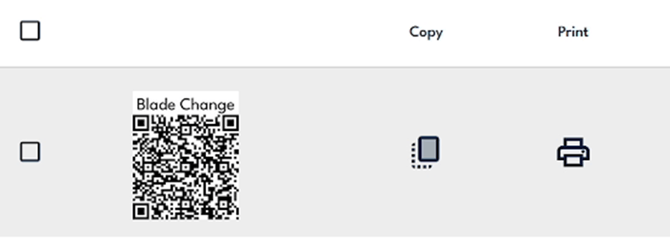
Click the generated QR code to copy it to your clipboard, ready to paste into a document.
Step 5
Copy, print, and watch the scan counter. Go to the QR Code section to see your code in a list. For each code you have an option to Copy and an option to Print, along with the text that will appear on top of it. There is also a Counter that shows how many times people have accessed that QR code.
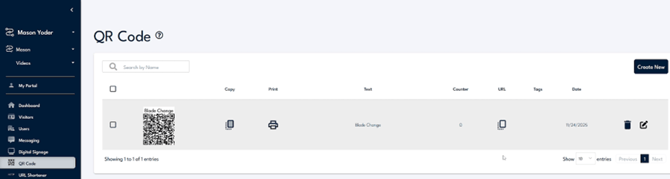
The QR Code section lists each code with Copy, Print, the Text, a scan Counter, any Tags, and the date created.
Step 6
Edit the destination URL without reprinting. For a QR code that already exists, open the Edit option. You can change the text that appears on it, and you can also change the URL it is connected to. Say you have training videos served on a QR code and they change out every week. Instead of printing a new QR code every week, just change the URL to point at the workflow that holds the new trainings.
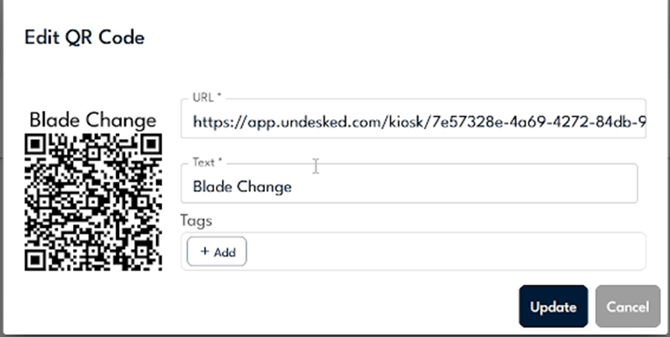
Change the "URL" field to point the existing code somewhere new; the printed code stays the same.